How to Make a Mola from Fabric.
Tutorial with step by step instructions.
Mola is a traditional form of reverse applique worked by the Kuna Indians of the San Blas Islands off
the coast of Panama. Mola is used to make panels for
the front and back of womens blouses in traditional costume. The designs have a joyous, niave
quality. The
whole fabric is reverse appliqued, building up complex patterns often
based on an animal. Colours
are bright and vibrant, reds, oranges and blacks being popular.
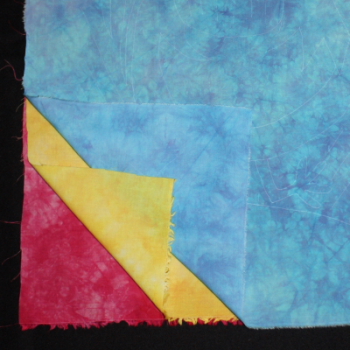 1) Choose 3 contrasting colours of cotton lawn fabric. |
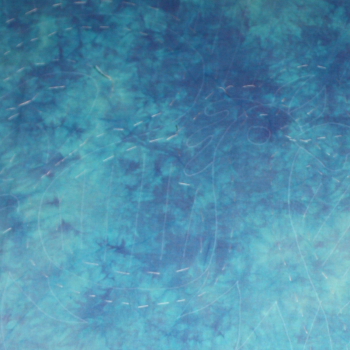
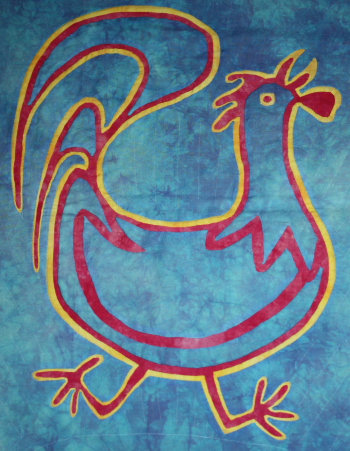
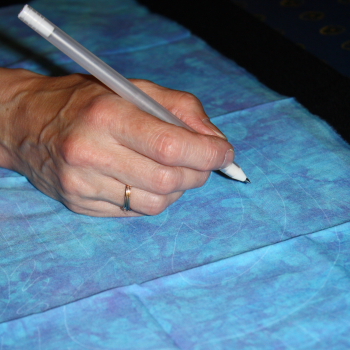 2) Trace your design onto the top layer of cotton lawn. |
|
|
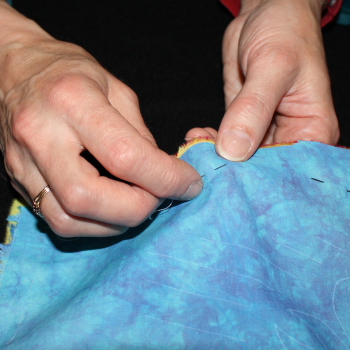
 4) Tack approximately 1cm outside and 1.5cm inside the design lines of the main motif . |
|
|
 6) Needle turn the fabric under to the line and stitch down neatly - notch the fabric along the curves before turning under as necessary. Remove the tacking outside the motif after you have stitched. |
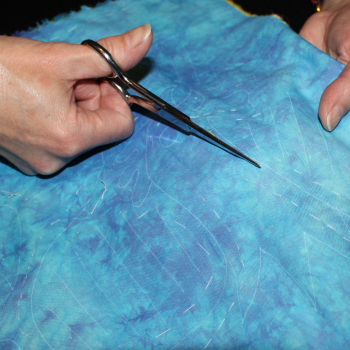
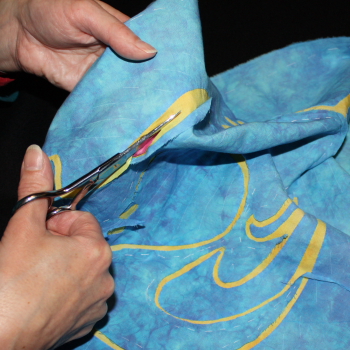 7) Cut through the second layer of fabric approximately 2/3cm from the finished edge ( push the top layer of fabric out of the way as you cut).
|
|
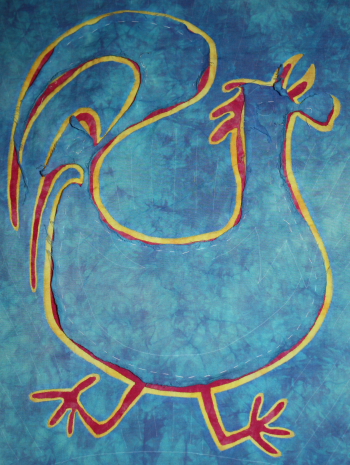
 9) Trim back the middle layer of fabric slightly. Then needle turn and stitch the top layer of the motif down. |
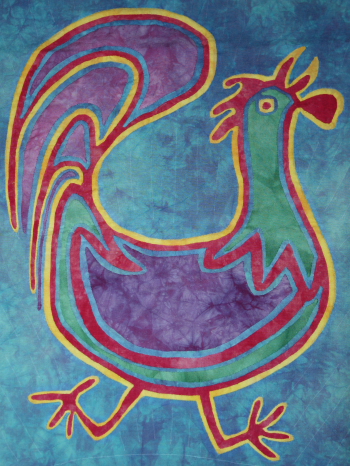 10) Pin, tack and needle turn applique extra pieces of cotton lawn over parts of the design. |
|
|
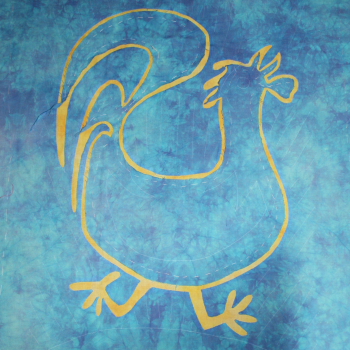
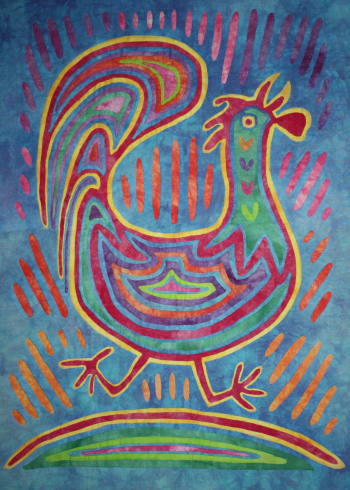
 12) Keep adding pieces of fabric and cutting back through them and adding extra scraps of fabric between layers until the whole motif is full and you are happy with the result. |
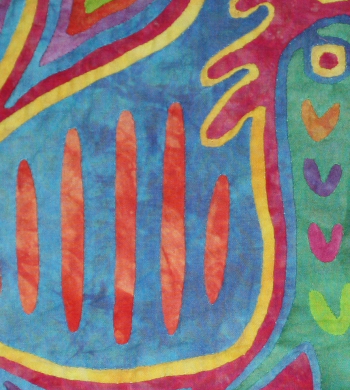 13) Now start working on the background, cut through the top layer of the fabric and slot scaps of cotton lawn through the slits then needle turn the edges.Continue with this until the whole background is covered. |
|

Katy teaches a full day course on Mola work
General Information About Mola
Our pinterest board about Mola